Monday, April 30, 2012

Baby Shower Craft No. 2

Ready for round 2? You always want your guests to know whats being served, so nothings better than super cute food labels. I came up with this idea as I was walking through Hobby Lobby, my go to craft spot! 

What you will Need: 
Duck Toppers from Hobby Lobby (On the baby shower aisle)
Wooden spools (On the wood craft aisle)
Hot Glue
Card Stock
Scissors

Here are the duck "cupcake" toppers and wooden spools. Both very affordable! You should only need one pack of each. 


On the computer I created these labels. Once your satisfied print and cut. I went with a kid type font. 


Next, hot glue your labels to the ducks mouth. It's almost like he's saying "Fruit" or "Meatballs".  


Now that you have all your labels attach, put a small amount of hot glue on the end of the stick and place it in the spool. 


Now you have your super cute food label displays! 


Be inspired and create!


Sunday, April 29, 2012

Baby Shower Craft No. 1

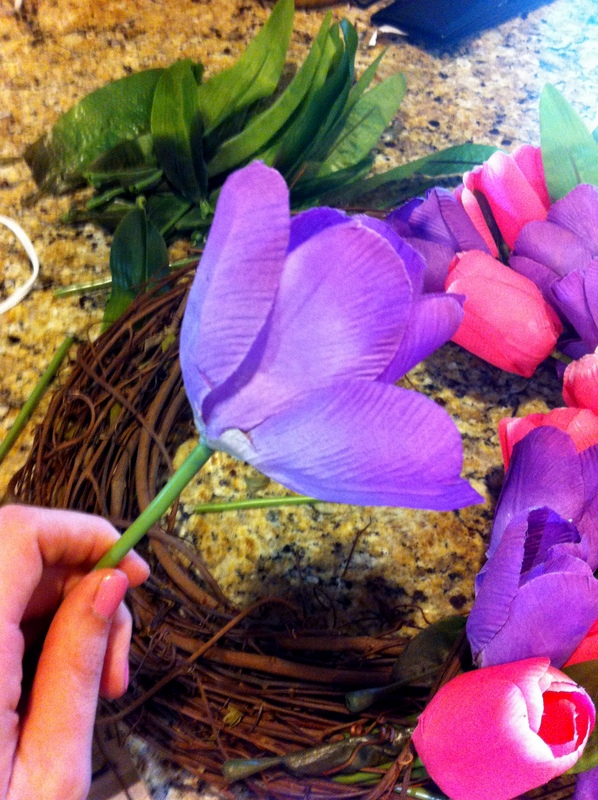
The baby shower is complete! After a long day of onsies, books and diapers my cousin and her husband are set for round one. I have a couple of other crafts to share that were inspired by this shower. If you saw before I suggested to all the guests to bring a book instead of a card and I made book category slips and bookmarks to include with the invitations. Now I have a great storage crate and food display tags to share with you! Tonight I'm going to cover the crate, tomorrow I'll take your through the food labels! 

Storage Crate
I love including some kind of storage bin with my baby gifts. I came up with the perfect idea this time, a wooden crate with the baby's first initial! 

You will need the following: 
Wood Crate from Hobby Lobby
Wood Letter from Hobby Lobby
Spray paint (optional)
Acrylic Paint
Paint Brushes
Vaseline (optional)
Hot Glue Gun
Paint Scraper

Here is the wood crate you will need.


Here are the paints I used.


Here are the other supplies I used, excluding the paint scraper. 


I first put a stain on as the first coat. Just randomly swipe it around the crate. I used grey paint and some stain medium from Hobby Lobby. 


Next, put a good amount of Vaseline over the stained parts. Don't be conservative, you don't want the acrylic to adhere well to the stained areas. This will make it easier to scrape off and distress. I let it dry for a few minutes and then spray painted the outside and inside. You don't have to use spray paint, but It's a quick way to cover the first coat. After it dried I finished the coats with the acrylic paint. 

While your crate is drying you can work on your letter. Grab a wood letter like the one here. 


I painted mine Navy Blue and mixed the paint with the stain medium. 


Here is your crate once it is all dry!


Now it's time to start scraping. Scrape as little or as much as you want. It totally depends on how distressed you want it. 


By now your letter should be dry and you are ready to hot glue it on! 


Now that your crate is complete, put all your goodies inside! 


My cousin loved this crate! I have another craft idea for this box, so look for it in the future! Be inspired and create! 


Thursday, April 26, 2012

Pink By Design


I've been wanting the Silhouette Cameo for months now! I used to want a different die cutting machine until I found this beauty. I have a laundry list of crafts that this machine would help me with and now I have a chance to win one with Pink By Design! They are giving away a Cameo so go and check them out! In case you aren't familiar with the machine, it is a die cutting machine that is great for cutting vinyl, papers, and fabrics. The crafts and ideas are endless! 

Here's the link to Pink By Design: 

Here are some pictures of what this machine can do: 

Cupcake Liners

Scrapbook Pages

Etched Glass

Cards

Vinyl Decor
I hope you have gotten excited! Be inspired and create! 

Note: I do not own any of these photos. All photos are owned by Silhouette Cameo America

Monday, April 23, 2012

DIY: Spring Wreath

A few posts back I posted this amazing spring inspirational wreath!


And ever since it's been on my to-do list, but now I can finally cross it off. I made my copy cat look and of course I'm going to share it with you! 

You will need the following:
A wreath base
A few bouquets of tulips
Twigs (optional)
Scissors
Hot Glue

To get started you will need your base, I used the 2nd largest size, 5 bouquets of tulips, your scissors and your hot glue. I chose to go with the pink and purple, but Hobby Lobby had a few other colors as well.


First pull off all the flower stems and then pull off all the leafs. 


Cut the stems so they are short and start placing them in between the branches. Mix up your colors and continue this process until the entire wreath is covered up!


Some of my flowers were wide and open so I used the hot glue to close them up. 


Add in leafs as you complete sections of your wreath. Once you have all the flowers attached add in some twisted twigs to add a little more texture. 


And it's as easy as that! Your wreath is complete!


Be inspired and create!

Check out my newest wreath here: 


Wednesday, April 18, 2012

3 Great Looks

I couldn't make up my mind if I wanted to talk about clothes or decor, so I did both! I scoped out 3 great outfits and 3 great coordinating interiors. Lets begin! 

Calm and Casual


Our first great look comes from Swell.com. Love this look for a dreary spring day. The poncho is a comfortable choice and goes well with frayed denim shorts. 


I envision our casual boho girl with eclectic taste. I found this great neutral palette with a full on photo wall. Love the wood details on the bed and all white bedding. Beautiful and serene. 

Cute and Trendy


Found this beauty on shopruche.com. I've been seeing lots of bow front shorts lately. They say "I'm innocent and cute, but stay on top of business" Love the neutrals with pops of turquoise and coral. 


This outfit takes me to a cottage chic space. Lots of white and soft tones of color. Love the exposed wood beams and wall paneling. The chandelier adds just the right amount of contrast that this space needs. Love that big open window too! 

Spunky and Bold


I'll take it all! I love this look from Nastygal.com. You can never go wrong with yellow for Summer. This is the perfect simple, yet trendy summer dress. Love the brown accessories and forearm bracelet. 

Viceroy Hotel Library; Santa Monica, CA

This girl looks like she's up to date on her literature, pop culture I would assume. So she could appreciate this inspiring bookcase!  It adds so much eye appeal to the space. The dark brown and yellow are a great pair and as always I'm a fan of mirrored furniture! 

Be sure to check out all three websites for great new outfits and I hope you found some inspiration from the interiors! As always be inspired and create!


Please Note: I do not own any of these photos.


Monday, April 16, 2012

Great Finds

With summer around the corner I'm going to get to enjoy one of my favorite activities, garage selling! I love looking for old furnishings and accents. Unfortunately the weekends have been a little too cold in the mornings for garage selling so I've settled for flea markets and a couple of my favorite stores. 

The Finds


I found this great basket from Hobby Lobby in the Spring section. I actually bought two. One for holding magazines and the second to use for our veggies when they start popping out of the garden. I painted the one below white, but still kept the old worn feel. 


This was a flea market find from one of my favorite flea markets Daisy and Olives. I have so many friends and family members getting married and having babies. My fridge was a scattered mess of invitations and save the dates. This leopard print cork board was a great solution to my problem. 


Our house is in the middle of a complete renovation and I've been starring at this blank wall for a while. I found this nice little shelf at another antique store, the Striped Pig, and it is great for holding wash cloths. Add fun colors to create your own "art piece". 


This beauty came from one of my favorite stores, TJ Maxx! This is actually going to go at the end of our bed. I love the old worn look of this piece. I found this lovely little pillows from Hobby Lobby, also in their spring section and 40% off! These would have been pretty easy to make too!

I love finding great pieces for my house! Hope you enjoyed them, be inspired and create!


Sunday, April 15, 2012

Baby Shower Fun


Who doesn't love planning a baby shower? I'm in the middle of baby shower planning and wanted to share a lovely little idea. The first fabulous idea is to suggest to your guests to bring a book instead of a card. The books will get a lot more use than the cards and you can't argue with that! I decided to take the idea a step further. First I made a list of kid book categories. I ended up with nine categories and made these cute cut outs to put in with the invitations. Designating categories will ensure you don't get the same book over and over. 


Next I made cute little bookmarks so the guests could leave a sweet note for the family on. Here is how I made the bookmarks.


You will Need:
Patterned or solid card stock
Ribbon, color of your choice
Hole punch
Initial stickers
Scissors
Paper Cutter

I got all my supplies at Hobby Lobby. They had a great card stock pad with all sorts of patterns and were the perfect size. For the initials I used wedding envelope seals and I chose two different colors of ribbon, blue and orange. 


Pick out your patterns and tear out your sheets. 


Once you have them all torn out you'll need to cut them in half, I used a paper cutter. This will make them the perfect bookmark size 2" x 6". 


Now you have a massive stack of bookmarks! 


Next, place your sticker. By the way the J stands for Jude, the new babies name! 


Punch your hole


Cut your ribbon, I cut around 5". 


And tie your knot!


Now you have all your bookmarks complete! Add one bookmark and one book category slip in with your invitations! The parents will love receiving all the books with sweet little notes. Be inspired and create!